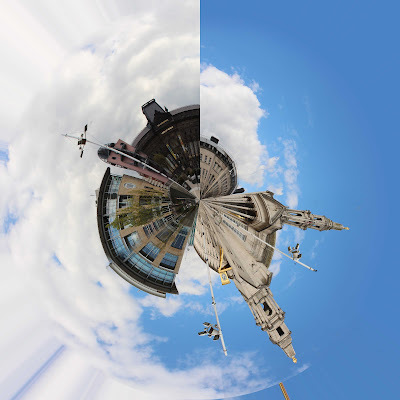
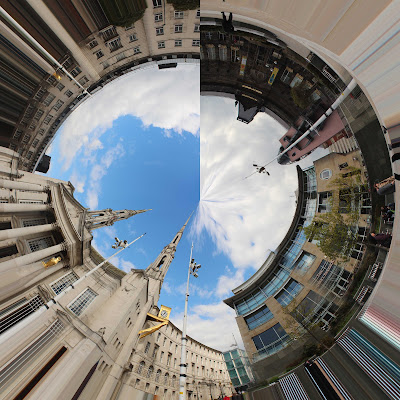
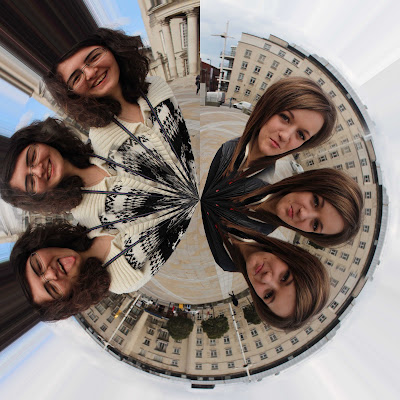
to create "planets" for these panoramic images you have to create a "letterbox" shape document in Photoshop as a base for the images you'll be piecing together. The base has to be able to fit all the images on it so finding the correct size may take a few trys (remember to uncheck 'constrain proportions'). After finding the base size and loading all the images onto it, you have to start over laping the images the best you can, getting rid of any repeats of scenery with the eraser tool and making the images flow nicely into one, then merging the two layers together. You do this until all the images are merged together and look like one big panoramic image but it won't be perfect;they'll be jagged parts which you ave to crop off, then youcaneither rotate the image 180 degrees or leave it how it is(doing either will give a different effect but only rotating it will make it a "planet") after rotating(or not) go to the "filter" option, "distort" and then "polar coordinates' click 'ok' then the image should turn into a "planet" then you can edit it further with the 'clone stamp' tool.
No comments:
Post a Comment